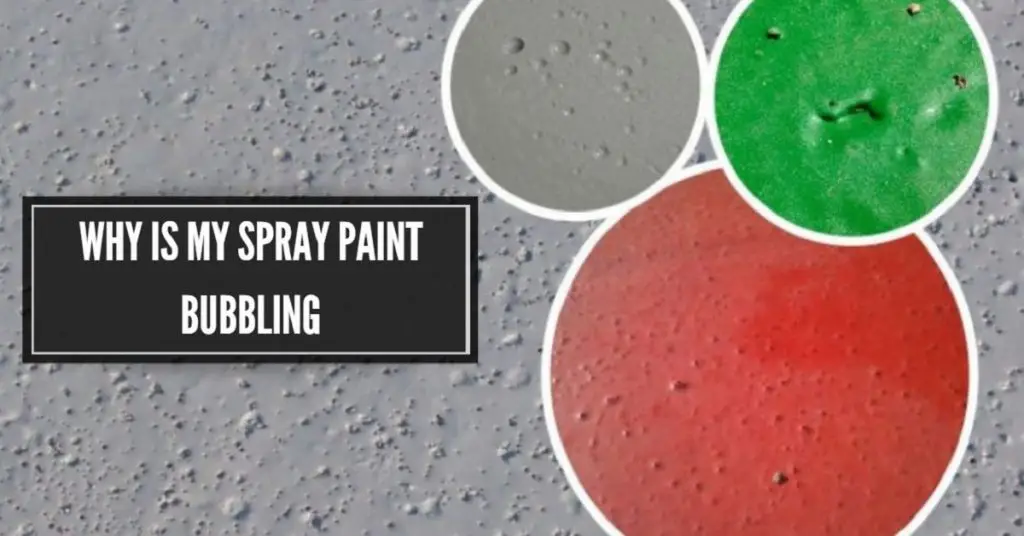
Why is my spray paint bubbling? Encountering the frustrating issue of spray paint bubbling can be a setback, whether you’re an experienced DIY enthusiast or just a novice in the world of spray painting.
I meticulously prepare the surface, select the perfect shade, and begin my project with passion, only to find unsightly bubbles marring the finish. So, why is my spray paint bubbling, and what are my actions to prevent or fix this issue?
After doing my research, I am happy to share its results with you in this guide, delving into the factors that lead to spray paint bubbles, discussing techniques to avoid them, and providing you with valuable tips to ensure your spray-painting endeavors result in a flawless, professional finish.
Spray paint bubbles are a source of frustration for many, but with a deeper understanding of the causes and some expert advice, you can transform your spray painting experience from a challenge into a rewarding and enjoyable process.
Let’s explore the world of spray painting, understand why bubbles occur, and discover how to achieve the perfect coat of paint without a single blemish.
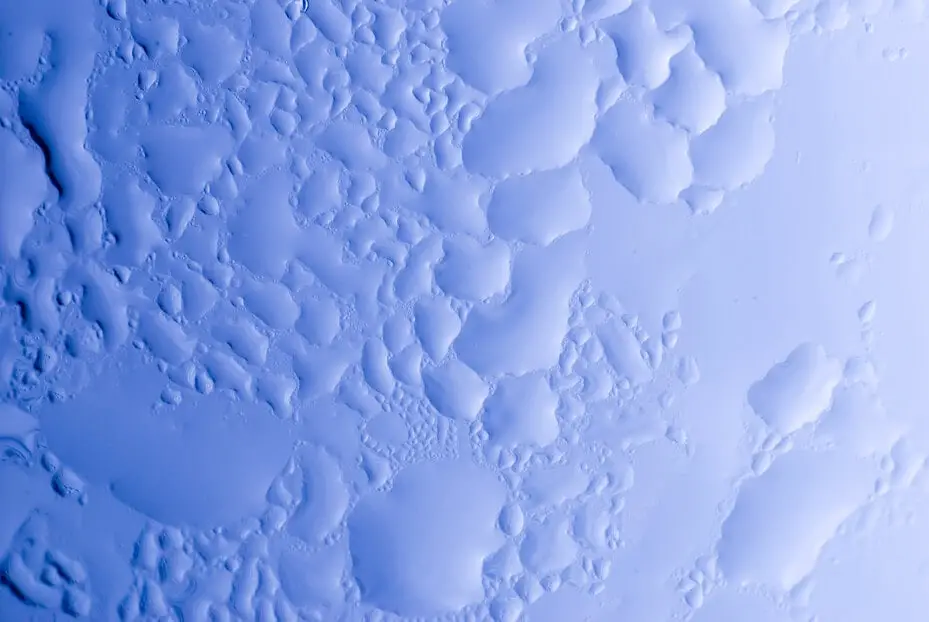
Table of Contents
Primary causes for spray paint bubbling
In order to fix or avoid a problem, we should comprehend its roots. That’s why it’s essential to understand the primary factors that contribute to the spray paint bubble. Identifying the root causes will empower you to take proactive measures during your spray paint job. Here are some of the principal causes of the spray paint bubble appearance:
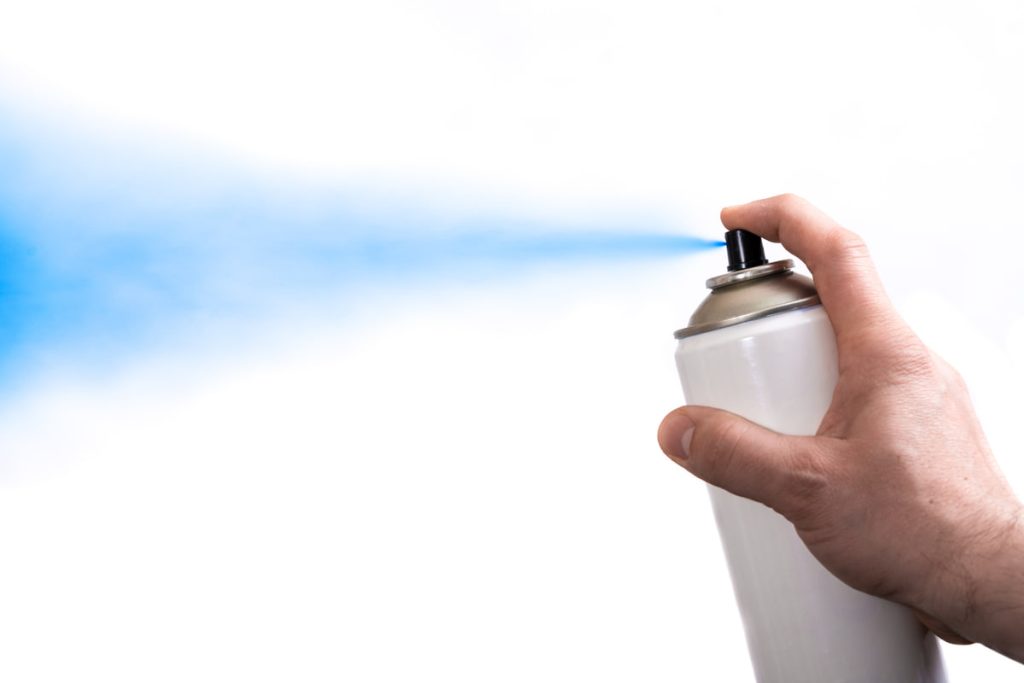
- Surface preparation. One of the fundamental factors that can result in spray paint bubbling is an insufficiently prepared surface. The coating should always follow meticulous cleaning. Surfaces that are not cleaned, sanded, or primed properly may trap air or moisture, causing bubbles to form beneath the paint.
Dirt, dust, and debris contribute to the uneven, rough coating that will look extremely sloppy. - Moisture and humidity. Due to water on the surface being painted or high humidity in the air, moisture becomes a common culprit. When it gets trapped beneath the paint, it can provoke bubbles as the paint dries.
- Temperature extremes. Extreme temperatures, especially excessive heat, can provoke paint bubbling. In increased temperatures, the paint dries too fast, and air bubbles can become trapped within the coating.
- Old paint and contaminants. If you’re applying new paint over old, deteriorating paint or a surface contaminated with dust, grease, or other impurities, it can disrupt the adhesion of the paint, leading to bubbles and a rough unkempt coat.
- Applying thick coats. Applying a thick or heavy coat of spray paint in a single application can overwhelm the surface, preventing proper drying and leading to bubbles. It’s essential to use thin, even coats.
- Inadequate drying time. Not allowing sufficient drying time between coats can trap solvents, causing bubbles to form when the second coat is applied.
- Using oil-based paint on metal surfaces. When used on metal surfaces, especially without proper priming, it can lead to adhesion issues and spray paint bubble formation.
- Porous surface. Surfaces with a high level of porosity, such as untreated wood or certain types of concrete, can absorb paint unevenly and lead to spray paint bubble formation.
- Bubbles of air in the paint. From time to time, the spray paint itself appears to contain bubbles. It’s crucial to shake the spray paint can thoroughly before use to minimize this risk.
That was the answer to the question: why is my spray paint bubbling? Being aware of these prime causes for spray paint bubbling is the first step in preventing this common issue.
Prevention is key
After identifying the core of the problem, it’s not complex to develop a prevention strategy. Let’s go cause by cause.
1. Surface preparation
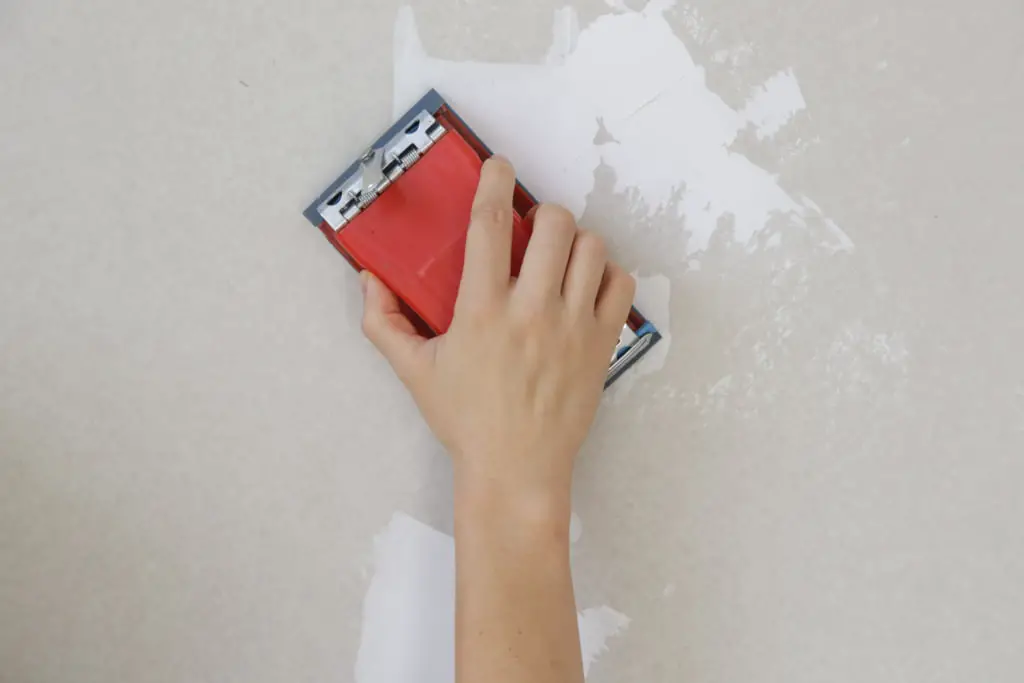
- Prevention: ensure that you thoroughly prepare the surface before you start painting. Clean it of any dirt, grease, or loose paint using appropriate cleaners and fine-grit sandpaper. Then, prime the surface to provide a smooth and adhesive base for the paint.
2. Moisture and humidity
- Prevention: check the weather conditions before the paint job and avoid spray painting on excessively humid days. If moisture is a concern, consider using a dehumidifier in the painting area. Always secure the dry surface and only afterward apply spray paint.
3. Temperature extremes
- Prevention: paint during moderate temperature conditions. Extreme heat or cold should be avoided whenever possible, as they can both provoke paint bubbling. If painting in high heat, try to do it during cooler parts of the day or in the shade. Otherwise, you risk to end up with pesky bubbles.
4. Old paint and contaminants
- Prevention: remove old and deteriorating paint before you take on applying the first coat. Make the surface as clean as possible eliminating contaminants, and use appropriate primers when necessary. I highly recommend using primers in your DIY painting endeavors as they will make the whole process much smoother.
5. Applying thick coats
- Prevention: apply multiple thin coats of spray paint rather than a single thick one. Ensure that each thin coat gets dry completely before applying the next thin layer. This ensures even coverage without trapping air or solvents. Don’t try to save time, you will regret it later. Make more coats for a perfect look and don’t try to decrease their number.
6. Inadequate drying time
- Prevention: follow the drying times guidelines of the paint manufacturer. Rushing the process can trap solvents and air, resulting in spray paint bubble formation although you may be using an airless paint sprayer.
7. Using oil-based paint on metal
- Prevention: if using such paint on metal, make sure to prime the metal first to improve adhesion. Use compatible spray paint and primer designed for metal applications. That’s the most effective way to prevent spray paint bubbles.
8. Porous surfaces
- Prevention: seal porous surfaces with an appropriate primer or sealer before applying spray paint. This prevents uneven absorption and bubble formation on the spray-painted surface. Using a primer is very effective for obtaining the best possible quality of the coat.
9. Air bubbles in the paint
- Prevention: Before spray painting, shake the spray paint bottle vigorously as per the manufacturer’s instructions to disperse any bubbles of air within the paint. Test the paint on a small surface area to ensure it sprays smoothly before applying it to your project.
Use the experience of avid painters and take these preventive measures — you will significantly reduce the risk of encountering spray paint bubble appearance in your projects.
Proper surface preparation, mindful paint application, and environmental considerations are key to achieving a flawless finish and enjoying your spray painting process without unexpected setbacks.
Damage control: how to fix spray paint bubbling?
So, the irreparable has happened.
You got the bubbled spray paint. Don’t despair, it’s not as irreparable as it seems.
Here’s what you can do.
1. Identify the bubbles
Examine the surface to identify where the paint bubbles have formed. This is crucial to determine the extent of the issue.
2. Wait for complete drying
If the bubbles are small and the paint hasn’t completely dried, allow it to dry thoroughly. Sometimes, small bubbles may self-level as the paint dries.
3. Lightly sand the affected area
For more stubborn bubbles, use fine-grit sandpaper to lightly sand the bubbled spray paint areas. This way, you’ll easily get rid of the “blemishes”.
Make sure that you do it gently to avoid damaging the surrounding paint. Sand until the surface is smooth.
4. Clean the surface
After sanding, clean the area to remove dust and debris. This ensures a clean surface for repainting.
5. Reapply paint
Apply a thin, even first coat of paint to the sanded area. It’s important to match the color and type of paint as closely as possible so that the second coat integrates organically into the original coat.
6. Feather the edges
Feather the edges of the new paint into the existing paint to blend it seamlessly. This helps to avoid visible lines or ridges.
7. Allow to dry
Let the repaired area dry completely. This will ensure the new coat adheres properly.
8. Inspect and repeat if necessary
After you let the paint dry, inspect the repaired area. If any imperfections or spray paint bubble remains, repeat the process until you achieve a smooth, flawless finish.
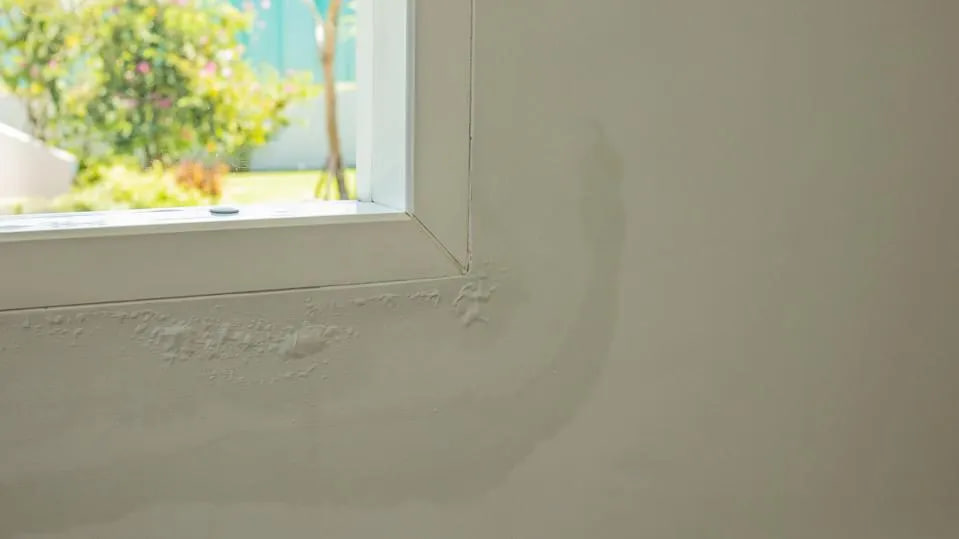
Note: If the bubbles are extensive or the paint has become severely damaged, you may need to remove the affected paint entirely (first and second coat), address the underlying issues, and then repaint the entire surface for the best results.
Paints prone to bubbling
Certain types of paint are more prone to bubbling than others due to their composition and properties. Here are some types of paint that are commonly associated with a higher risk of bubbling:
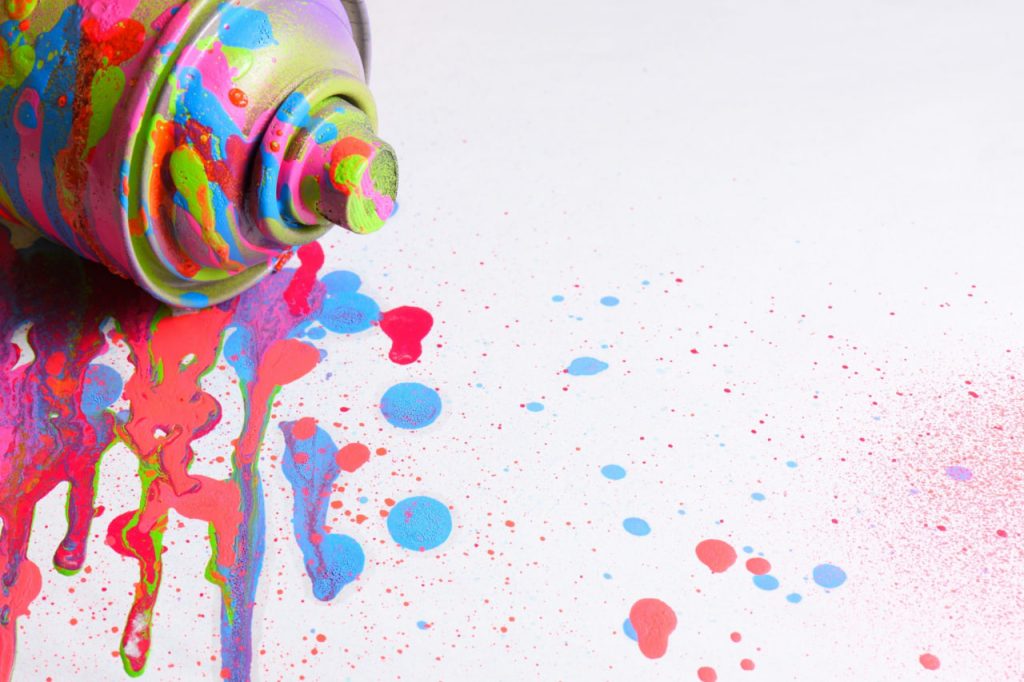
Oil-based paint
Oil-based paints can be more prone to bubbling, especially when applied on surfaces that are not adequately prepared or primed.
Latex or water-based paint
While water-based paints are generally less prone to bubbling than oil-based paints, they can still bubble if applied in humid conditions or on surfaces with trapped moisture.
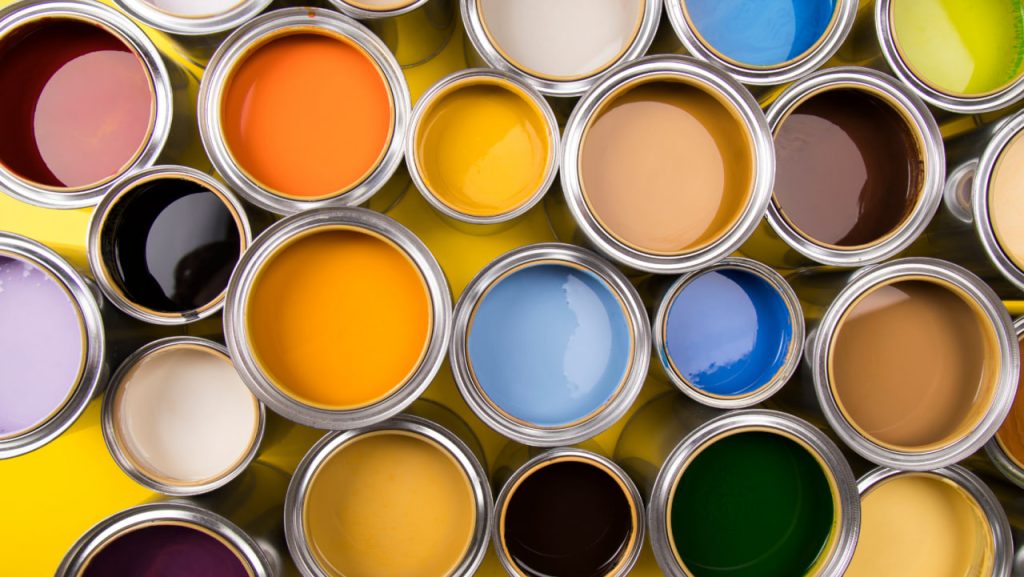
Paint with High Volatile Organic Compounds (VOCs)
Paints with high VOC content can be more prone to bubbling because they release a significant amount of solvents as they dry. These solvents can become trapped beneath the paint and create bubbles.
Low-quality paints
Paints of lower quality or those that have expired may be more prone to bubbling.
It’s advisable to use reputable paint brands and check the expiration date on the product.
Note: It’s important to note that the propensity for paint to bubble can vary depending on a combination of factors, including the specific paint brand and formulation, surface conditions, and the application process.
To minimize the risk of bubbling, always follow the manufacturer’s instructions and best practices for surface preparation and paint application.
Final stroke
The appearance of those frustrating bubbles can be a stumbling block for even the most avid DIY enthusiasts. However, with a comprehensive understanding of why spray paint bubbles occur and the knowledge of how to prevent and address them, you can transform your painting experience from a source of frustration into a rewarding and satisfying painting process.
We’ve explored the most substantial causes behind the spray paint bubble formation, from surface preparation and moisture issues to temperature extremes and the types of spray paint used.
Armed with this knowledge, you’re now better equipped to take proactive measures to avoid spray paint bubbles, preventing these unwanted blemishes in your projects.
Should you still find yourself facing a spray paint bubble appearance, we’ve also discussed how to sort out the issue efficiently. With a little patience and attention to detail, you can fix spray paint, restoring the smooth, professional finish you envisioned.
When it comes to paint bubbles, not all paints are created equal, and certain types are more prone to this issue.
It’s crucial to consider the type of paint, surface conditions, and proper application techniques to minimize the risk of encountering spray paint bubbles.
As you embark on your next spray painting endeavor, armed with the insights and techniques shared in this guide, you’re well on your way to achieving the perfect coat of spray paint, free from those pesky bubbles.
FAQ
How do you fix bubbling spray paint?
Fixing bubbling spray paint involves sanding the affected area, cleaning it, applying a thin first coat of paint, and giving it time to dry perfectly and only then carrying out the second coat.
What causes air bubbles when spraying paint?
Bubbles of air in spray paint can result from factors like moisture, improper surface preparation, extreme temperatures, and when the paint is laid in a layer that is too thick.
Why is my second coat of paint bubbling?
Bubbling on the second coat can occur if the first coat hasn’t dried to the full extent, but you already start with the second coat. Also, there may be issues with preparing the surface like failing to ensure its clean and smooth condition.
How do you fix ripples in spray paint?
To fix ripples in spray paint, sand the affected area, clean it, and reapply paint in thin first, then second coat, allowing it to dry properly in between the coatings.

Even though I have 10+ years of experience in the painting business, I am always trying to learn the latest coloring methods. I have been into colors since my teenage days. I spent a lot of time experimenting with new painting methods on multiple surfaces. Now, I want to spread my knowledge through my blogs and articles.

It’s a shame you don’t have a donate button! I’d certainly donate
to this superb blog! I guess for now i’ll settle for bookmarking and adding your RSS feed to my Google account.
I look forward to fresh updates and will share this website with my Facebook group.
Chat soon!
Good day! This is my first visit to your blog!
We are a team of volunteers and starting a
new project in a community in the same niche. Your blog provided us valuable information to work on. You have done a extraordinary job!
Excellent goods from you, man. I have understand your stuff
previous to and you are just extremely wonderful.
I actually like what you have acquired here, certainly like
what you’re stating and the way in which you say it. You make it enjoyable and you still take care of to
keep it wise. I cant wait to read far more from you. This is actually a great site.
I really like what you guys are usually up
too. This sort of clever work and reporting! Keep up the awesome works guys I’ve incorporated you guys to my personal
blogroll.
Hey There. I found your blog using msn. This is an extremely well written article.
I’ll make sure to bookmark it and return to read more of your useful information. Thanks for the
post. I will certainly comeback.
I have been exploring for a little for any high quality articles or blog posts on this kind of area . Exploring in Yahoo I at last stumbled upon this web site. Reading this info So i’m happy to convey that I have an incredibly good uncanny feeling I discovered exactly what I needed. I most certainly will make certain to do not forget this site and give it a glance on a constant basis.
I am extremely impressed along with your writing abilities well with the format for your blog. Is that this a paid topic or did you modify it yourself? Anyway keep up the excellent quality writing, it’s rare to see a great blog like this one nowadays.
I just wanted to express my gratitude for the valuable insights you provide through your blog. Your expertise shines through in every word, and I’m grateful for the opportunity to learn from you.
Nutra Gears Awesome! Its genuinely remarkable post, I have got much clear idea regarding from this post . Nutra Gears
Tech to Force You’re so awesome! I don’t believe I have read a single thing like that before. So great to find someone with some original thoughts on this topic. Really.. thank you for starting this up. This website is something that is needed on the internet, someone with a little originality!
302245 212585Some truly nice and utilitarian info on this internet site , besides I think the layout holds wonderful features. 942045
153358 195337Fantastic post nonetheless , I was wanting to know should you could write a litte much more on this topic? Id be extremely thankful should you could elaborate a bit bit further. Bless you! 590875
Aroma Sensei I appreciate you sharing this blog post. Thanks Again. Cool.
FinTechZoomUs I am truly thankful to the owner of this web site who has shared this fantastic piece of writing at at this place.
474027 979702Woh I like your articles , saved to fav! . 911795
119572 175443Hey i just visited your site for the very first time and i genuinely liked it, i bookmarked it and will be back 600994
60872 497790Wow, amazing weblog layout! How long have you been blogging for? you make blogging look straightforward. The overall appear of your web site is wonderful, as nicely as the content! 242970
421706 366924Utterly composed topic material , thanks for selective data . 939746
327362 724101Youre so cool! I dont suppose Ive read anything like this before. So good to search out any individual with some original thoughts on this subject. realy thank you for starting this up. this site is one thing thats wanted on the internet, somebody with a bit of originality. helpful job for bringing something new towards the internet! 877673
84741 241108I actually like forgathering utile info, this post has got me even more info! . 412033
736359 829424I truly prize your piece of work, Great post. 602002
142076 699514Excellent post. I appreciate your attention to this subject and I learned a whole lot 322535
622537 456220I just added this weblog to my rss reader, superb stuff. I like your writing style. 638209
671653 45321hello!,I like your writing so so much! 791436
502727 903676Hello. Great job. I did not expect this. This really is a fantastic story. Thanks! You created certain fine points there. I did a search on the subject matter and found the majority of folks will have the same opinion with your blog. 126540
934590 767708Somebody necessarily aid to make seriously articles I may possibly state. That could be the extremely initial time I frequented your internet page and to this point? I surprised with the research you produced to make this actual put up incredible. Wonderful task! 161265
935787 279144How considerably of an unique article, keep on posting much better half 426167
525188 146674I like your writing style truly loving this website . 998463
482367 117473Merely wanna input on few general issues, The website style is perfect, the subject material is rattling superb : D. 18226