If you are a home décor or DIY lover, you must be familiar with the word “Hydro Dip.” The outstanding technique allows people to turn a plain-looking object into a vibrant, attractive, and mind-refreshing item. However, can you hydro dip plastic?
People can use any water-proof material for hydrographic designs, including wood, metal, plastic, fiberglass, ceramics, etc. Even plastic is one of the most common materials for hydro dipping. So, what are you waiting for? Let’s hydro-dip the plain plastics and make them colorful.
This article will go over hydro dipping’s suitability for different materials, its durability, some valuable tips for successful hydro dipping, and some frequently asked questions. So, let’s start.
Table of Contents
What is Hydro Dipping?
Immersion printing, Hydro Dip, Hydro Graphics, and Water Transfer printing, whatever you want to call it, is the process of incorporating vibrant patterns of colors onto 3D-shaped objects to make them lucrative without the necessity of additional printing tools.
Hydro dipping is a special painting process where a painter creates a distinctive or intricate pattern by dipping a particular thing inside the water with a film floating on the upper area.
It’s a Japanese invention from the 1980s; the technique is now worldwide popular due to the visual appeal it produces. You can generally create psychedelic as well as marbled effects by following this painting method. The final outcome may vary, such as applied art, decorative art, or similar art.
Does Hydro Dipping Work on Plastic?
Many people need clarification about whether they can hydro-dip plastic. Interestingly, plastic effectively absorbs color. As a result, it is an excellent material for producing long-lasting, well-finished hydro printing.
You can hydro-dip different types of plastics, such as ATV plastics, motorcycle plastics, textured plastic, ABS, PP, PE, and EVA. In some plastic-made products, hydrographers avoid applying primer or base coat and proceed with the next step to make them more color-absorbent. ABS plastic is a glaring example of it.
What Type of Paint is the best for Hydro Dip on Plastic?
Several types of paint can be used for hydro dipping on plastic surfaces, and the best one for a particular project will depend on the specific characteristics of the plastic and the desired outcome. However, you can use regular spray paints for hydro dipping instead of acrylic or latex paint.
Always use oil-based spray paint and avoid water-based spray paints because water-based colors are highly fragile and look cheap even after just one use.
Oil-based spray paint is often considered a good option for hydro dipping plastic because it is durable, adheres well to the plastic surface, and produces a smooth and consistent finish. Additionally, it is easy to clean up after use and is low in toxicity, making it safe in a home or hobby setting.
If you want to dig more about hydro dipping spray paint, check out my review of the best hydro dipping paint, in which I discussed the top five hydro-dipping paints.
Hydro Dipping Plastic with Spray Paint: Step-by-Step
There are many ways to hydro dip, and the exact steps may vary depending on the item you are dipping and the type of paint you are using. It’s important to ensure the compatibility of paint for the hydro dipping process.
One can follow the steps listed below for hydro-dipping plastics:
a) Preparing the Plastic for Hydro Dipping:
- Choose a plastic object that you want to decorate.
- Thoroughly clean the object.
- Now take sandpaper and scrub the surface to make it plain.
- Tape the areas of the object where you don’t want to dye.
- Some items may require a base coat before applying the hydro dip process. Apply a thin layer of base coat over the entire object.
- Let the base coat air dry. It’s important to use specially formulated paint that is compatible with the type of plastic being used.
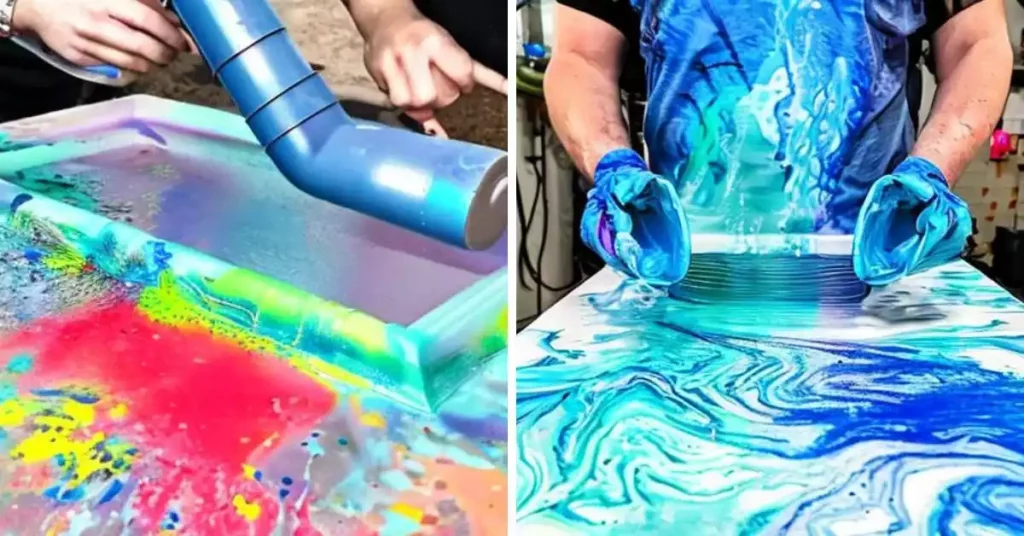
b) Hydro Dipping Process:
- Take a large container and fill 3/4th of it with water.
- Shake the can of spray paint for at least 10-15 seconds.
- From 6 inches away, spray the water with chosen colors.
- Now stir the water with a stick to create your desired design.
- Holding the plastic object, roll it slowly over the colored water surface. Don’t submerge the object.
- Now take the object out of the water & let it dry.
c) Hydro Dipping Finishing Process:
Once dry, applying a primer or topcoat is an essential step in the finishing process, as it protects the design from fading and chipping. For best results, spray the coating twice or thrice every three to four hours. After that, leave the item to cure and dry for a certain amount of time, usually 24 to 48 hours, to ensure the best possible finish.
Benefits of Using Spray Paint on Plastic
Oil-based spray paint does not mix with water; instead, it forms a layer of colored paint on top of it. As a result, the paint pattern becomes an integral part of the object when you immerse the item in water.
Some people might be skeptical about how durable water-soluble paint will be on the item. It performs flawlessly!
Following points are the most notable advantages of Hydro Dipping:
- Developing customized color designs or patterns on items that are available in limited colors.
- A 360-degree, detailed, and durable color covering.
- Shrinkage, heat, and scratch resistance coloring method.
- Suitable for almost all plastic material.
- Cost-effective method because the hydro dipping process doesn’t need additional printing tools.
- Spray paint dries relatively quickly on the plastic surface.
Tips for Successful Hydro Dipping
- If you are a beginner, start with spray paint. Other paints like Acrylic paint, Latex paint, Enamel Paint, and Epoxy paint are also used for the same but need certain pre-cursor preparation before use.
- Try to use warm water over 70 degrees Fahrenheit or 21 degrees Celsius.
- On the water surface, evenly spray the colors. Refrain from spraying too heavily or too thinly on the surface. Remember, uneven colors on the surface will also create uneven-colored layers on the object.
- Use a clean water tank for hydro dipping. It should be fresh and free of any debris that could interfere with the adhesion of the surface.
- Ensure the item is completely dry before moving on to the next step.
- It’s better to hydro dip outdoors. If you do it indoors, ensure you have worn a mask and that space has sufficient ventilation.
- If you hydro-dip kitchen stuff, use food-safe paints.
What Materials Other Than Plastic Can be Hydro Dipped?
All materials, such as wood, metal, ceramic, and plastic that can withstand water immersion effects are suitable for Hydro Dip. Even people can hydro-dip animal bones the way they hydro-dip other materials. Let’s see the details below:
i) Wood
Wood is one of the ideal materials for hydro dipping. It can absorb water since it is porous. Then why do people choose it for hydro dipping? The answer is that wood has a fixed shape. Additionally, users can apply a base coat to lock the pores and make it water-proof.
ii) Metal
It is another commonly used material for Hydro Dip. But metal is not porous. Therefore, beginners may face difficulties in hydro dip metal materials initially. In this case, it is better to seek expert help.
iii) Ceramics
Hydro dipping ceramics can be a bit trickier than dipping other materials. Ceramics should not be submerged in water for long periods. It is also important not to overheat the ceramic, as this may cause it to warp or crack. When hydro dipping ceramics, the process should be done quickly and efficiently to avoid any problems.
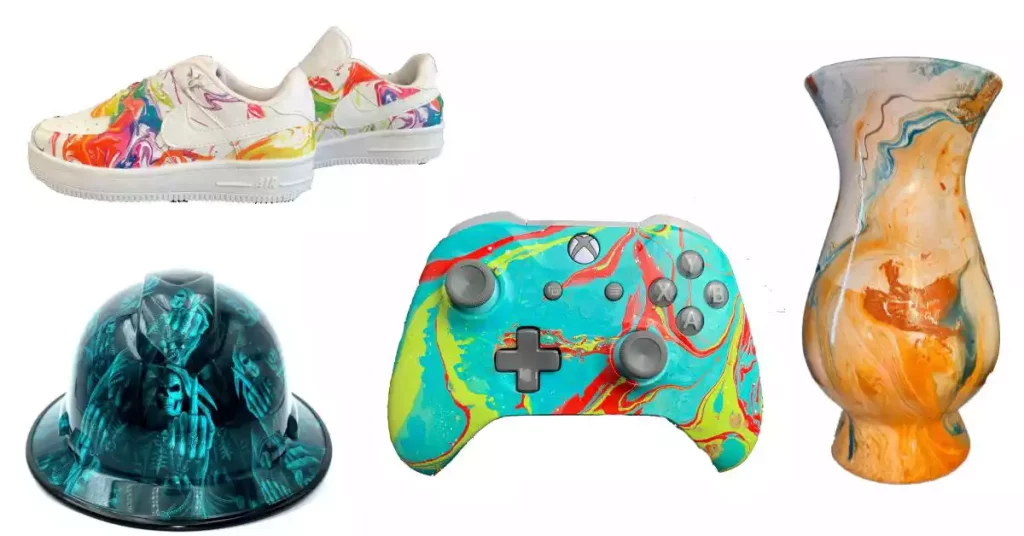
iv) Shoes
The best thing you can hydro-dip is white shoes. So, choose one of the white shoes to make your fashion unique. Hydro dipping shoes are the perfect way to express your style.
v) Guitars
To make your guitar stand out from the rest, you don’t have to spend a lot of money. In fact, hydro dipping is a great option for preserving your guitar’s finish. You can seal the natural finish and make your guitar stand out from the rest. You can apply this method to any wooden object.
vi) Rims
Hydro dipping rims can give your vehicle a unique and eye-catching look. So, if you’re bored with how your vehicle looks, it’s a great way to enhance its appearance.
Also, the use of Hydro Dipping is visible in different settings, including the automobile industry, aircraft interiors, home interiors, outdoor objects, and commonly used items like goggles, sunglasses, shoes, etc.
FAQ
How Long Does Hydro Dip Last on Plastic?
Hydro dip paintings last a long time, but the durability depends on the item’s material. Generally, the lifespan of Hydro dip paints on plastic is between five and fifteen years.
What Types of Plastic Can You Hydro Dip?
Most types of plastic can be hydro-dipped, including plastics such as ABS, PVC, and polycarbonate.
How Long Does Hydro Dipping Take?
The hydro dipping process usually takes anywhere from 30 minutes to an hour, depending on the complexity of the process and the size of the plastic piece.
Do You Have to Prime Plastic Before Hydro-Dipping?
Before hydro dipping, everyone should prime the plastic because it effectively makes the color adhere to the item. But sometimes, professionals avoid primer in ABS plastic hydro dipping and directly move on to the next step.
Conclusion
Numerous people want to hydro-dip their plastic items but need help to do so since they are unsure whether they can hydro dip plastic or not. Therefore, this article has answered their question, “Can You Hydro Dip Plastic” with step-by-step instructions, tips, and tricks for successful hydro dipping. I hope the readers can now hydro dip their plastic items by themselves.

Even though I have 10+ years of experience in the painting business, I am always trying to learn the latest coloring methods. I have been into colors since my teenage days. I spent a lot of time experimenting with new painting methods on multiple surfaces. Now, I want to spread my knowledge through my blogs and articles.